岡田州平の「初心者が知っておくと得をする押さえておくべきlaravelの特徴~第3回:ログイン画面作成とページ遷移~」(Staff Blog)
皆さんこんにちはDHTの岡田です。今回はlaravelを使って、簡単なログイン画面とページ遷移を作成していきたいと思います。今回はModelを使用せず、Route、Controller、Viewを使っていきたいと思います。次回のブログではバリデーションチェックやモデルの使い方を説明しようと思います。
■View
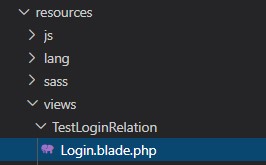
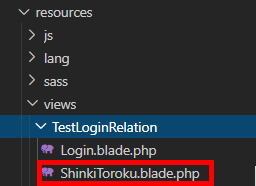
Viewにはhtmlを書いてきます。Resources\views直下にTestLoginRelationフォルダーを作成し、そこにLogin.blade.phpファイルを作成します。
Login.blade.phpに以下のhtmlを記述する。
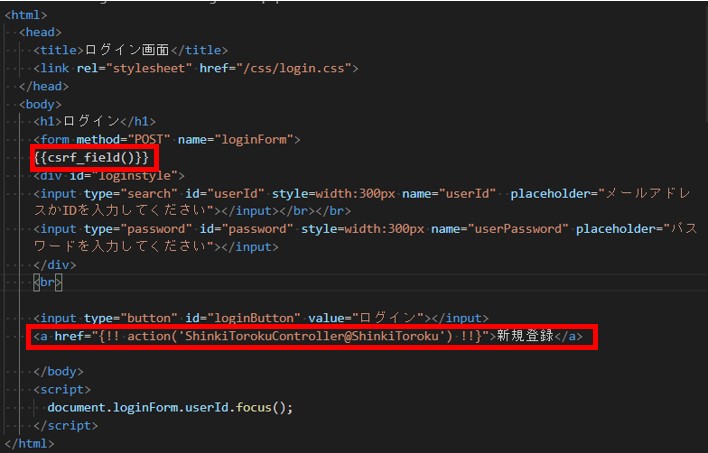
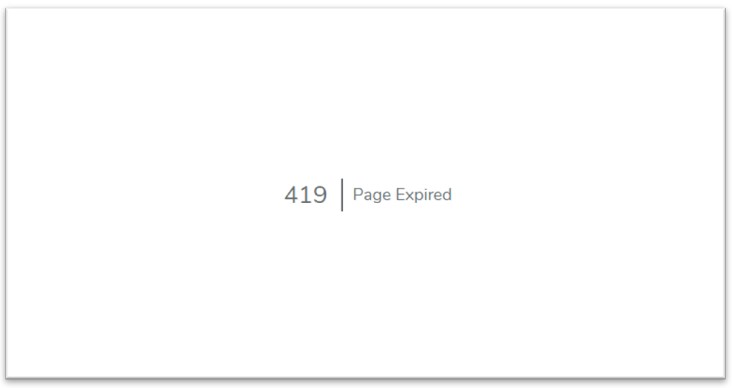
- formの下に{{csrf_field()}}(Laravel version6以降は@csrfでも可能)は必ず書くようにしてください。LaravelではCSRF対策がされていないフォームの送信は受け付けないようになっているからです。入れていない場合は、以下のようなエラーが出ます。
- action関数は指定するコントローラーアクションに対するURLを作成します。
<a href=”{!!action(‘shinkiTorokuController@ShinkiToroku’)!!}”>新規登録</a>で、新規登録画面に遷移できます(後で説明するRouteの設定は必要です)。
続いて、新規登録画面のViewファイルを作成します。こちらもやり方は同じで、Resources\views\TestLoginRelation配下にShinkiToroku.blade.phpを作成します。
作成後は、以下のhtmlを記述します。
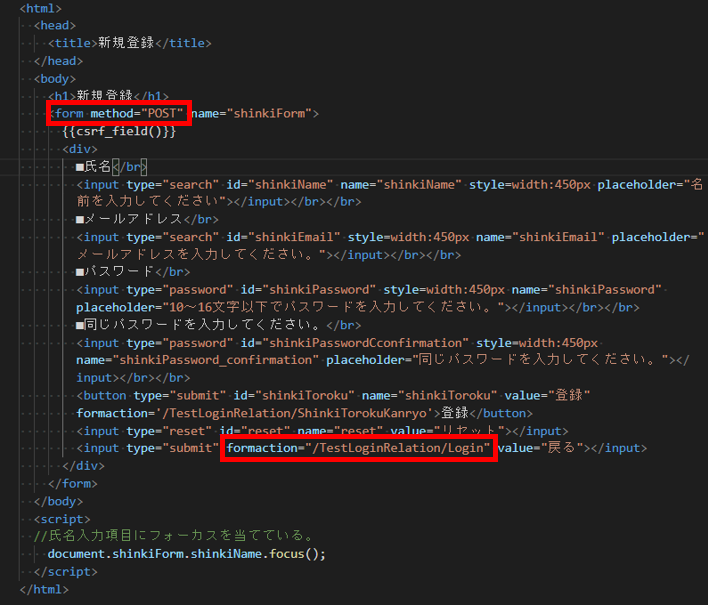
form method=”POST”、formaction=”/TestLoginRelation/Login”という形でフォームを用意しています。POST送信された時の処理をRouteに書けば戻るボタンを押下したときに、ログイン画面に戻ります。
■Controller
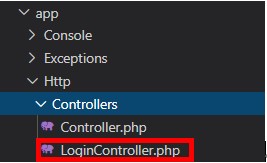
コントローラーは1から自分で書いて作成することはありません。Artisanコマンドを使って作成します。今回は名前をLoginControllerとします。

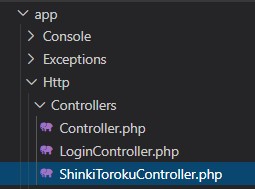
これを実行すると、App\Http\Controllers配下にLoginController.phpが自動で作成されます。
内容は以下のようにLoginControllerクラスが作成されます。
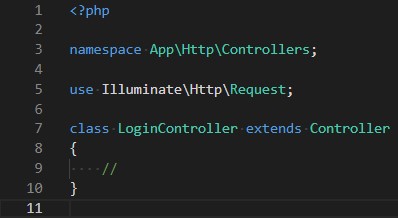
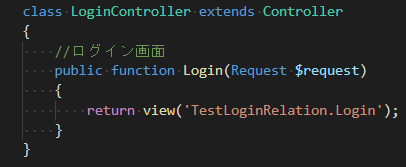
では、続いて、LoginControllerクラスに処理を書いていくのですが、今回は渡すものがないので、以下のような簡単なコードになります。
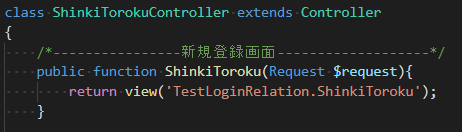
続いて、新規登録画面のControllerを作成します。artisanコマンドで、ShinkiTorokuController名で作成しました。
以下のコードを記述します。
■Route
Route(ルート)はあるURLにアクセスしたときに、Controllerが処理をするように設定してくれます。WebページにアクセスするためのルーティングはRoutes\web.phpにあります。

Web.phpに下記のようにコードを記述します。


■結果
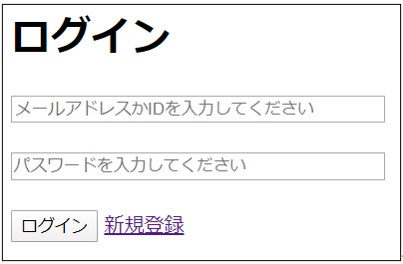
・ログインページ
・新規登録画面

Controller、View、Routeを使うことで簡単にそして、見やすくログインページを作成することができます。
次回は、バリデーションチェックについて書く予定です。
ぜひ、皆様の勉強の役に立てばと思います。